Friday, September 23, 2011

Stella Blue Friday

Welcome back to Stella Blue Friday! It has been awhile since I’ve updated about this quilt. Dianne and I both put it on hold for the summer, but we both seemed to read each other’s minds and have pulled it out again to work on.


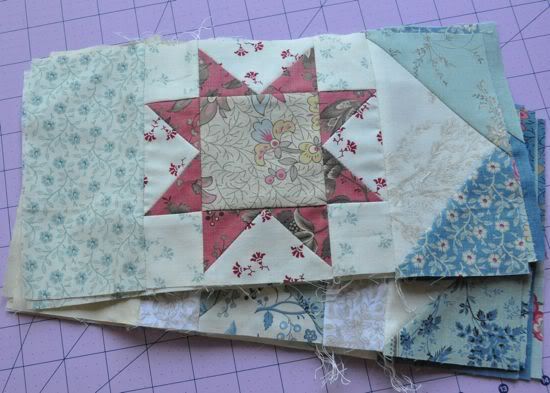
I have been working on the small stars, there are 49 of them and I diligently sewed away last week until they were all done. It helped that last Friday evening my two friends Colleen and Victory came over and sewed with me. I love sewing night! Colleen stayed until midnight, it was great.

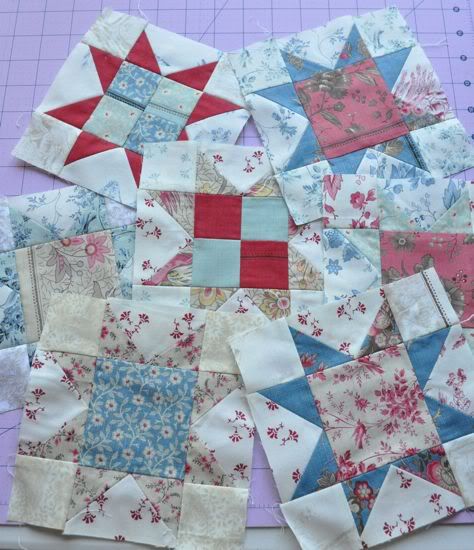
After the stars were done, I assembled a few of the smaller blocks.

Now, I have a lot of big blocks to make, this quilt is going to be so awesome! The fabric I am using is called Rural Jardin by French General. I got a fat quarter bundle of this fabric (and still have tons left over). Be sure and visit Dianne's blog to check her progress too!


I'll leave you with a photo I took of Mount St. Helens when we went boating with our neighbors. Isn't it great? I love living here.

Tuesday, September 20, 2011

Scripture Tote Tutorial

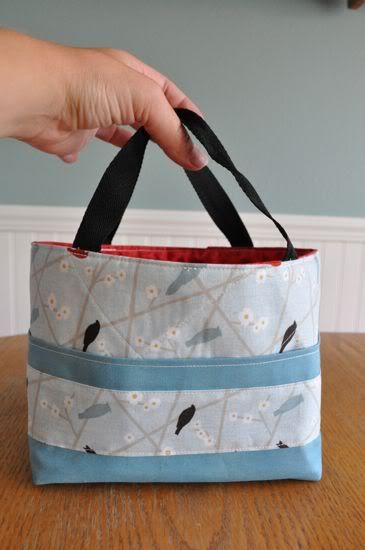
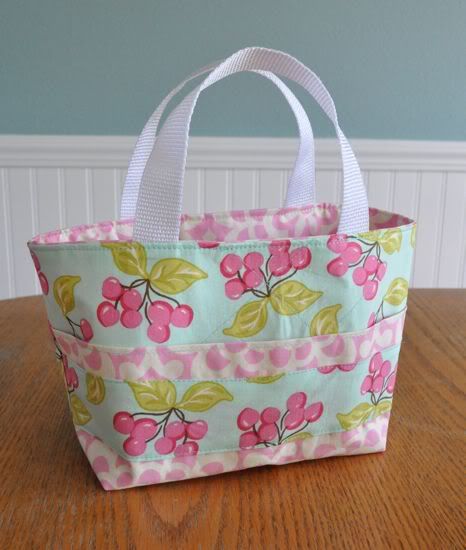
I've had some people ask me to put together a tutorial on the scripture totes I've been making, so here you go! The bag holds a set of scriptures in it perfectly. I started making the bags for presents for the girls at church, and they loved them. They are really cute little bags.
Materials Needed:
Outside of Bag Body: 2 pieces 9-1/4" x 12-1/2"
Inside of Bag Body: 2 pieces 9-1/4" x 12-1/2"
Fusible Batting: 2 pieces 8-3/4" x 12"
Pocket: 1 piece 12-1/2" x 12-1/2"
Pocket Decorating Stripe: 1 piece 2-1/2" x 12-1/2"
Nylon Webbing for Handles: 2 pieces 12" Long
Iron fusible batting to the wrong side of your two pieces of the Outside Bag Body.
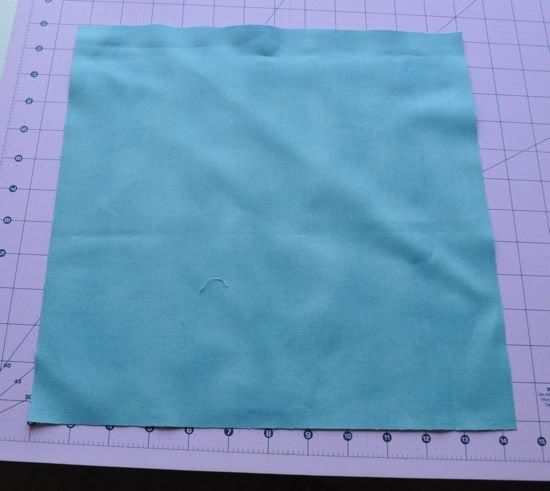
Take your pocket fabric 12-1/2" x 12-1/2"
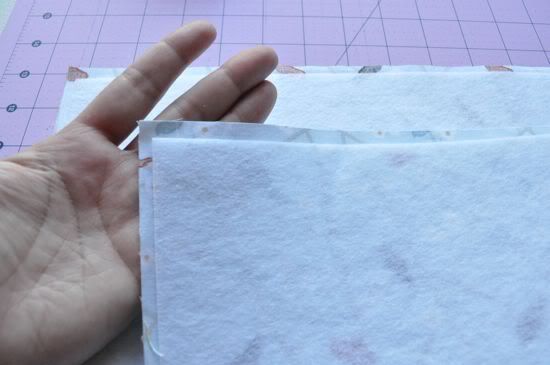
And iron it in half.
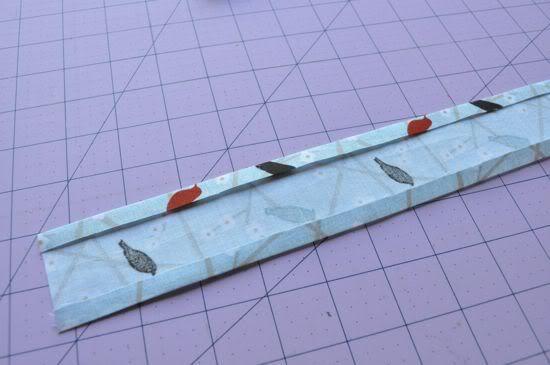
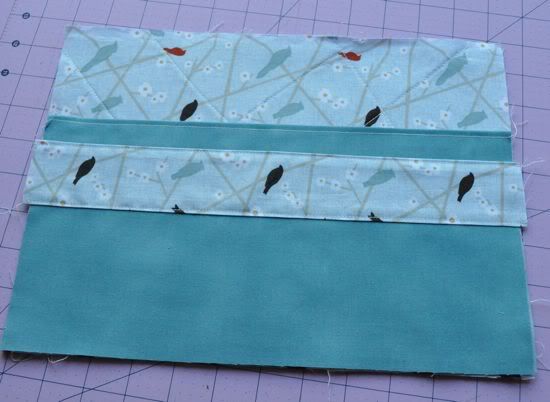
Take your pocket decorating strip, and iron each long end 1/4" down on the backside so you won't have it fraying.
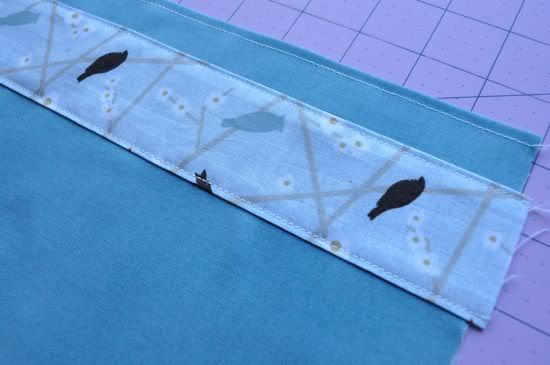
Measure about 1" down from top of pocket (where the fold is) and pin strip in place.
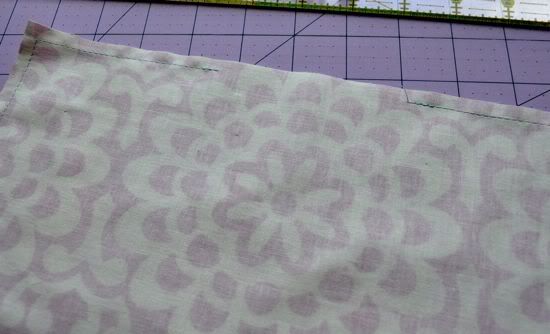
Sew close to edge on the top of pocket fabric, and close to the edges of the strip, use matching thread.
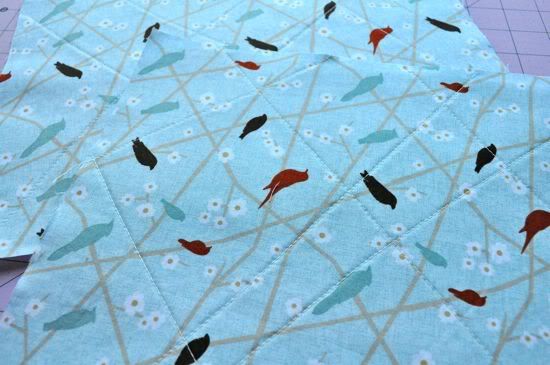
{optional} quilt the outside bag body pieces, I just did it randomly, I think it looks nice and adds more dimension to the bag.
Lay pocket on top of one of the outside bag body pieces (laying right side up).
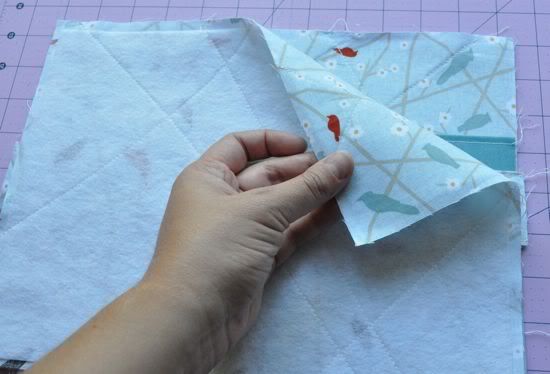
Lay second outside bag body piece on top of them and make sure right sides are together.
Pin along the sides and bottom, leave the top open. Sew with a 1/4" seam along the three edges, remove pins.
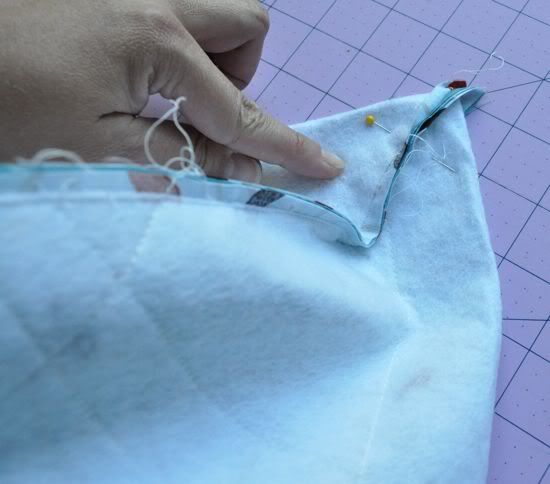
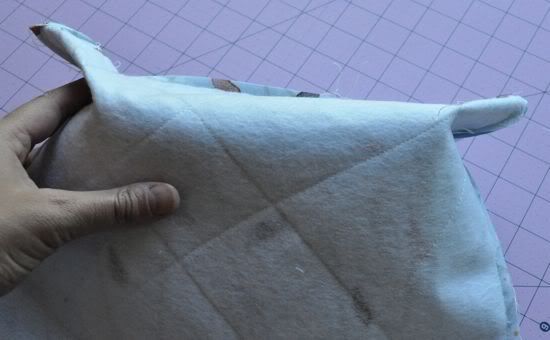
Next we are going to make the bag so it will sit flat on the bottom. You squish down the corner (check the inside of the bag and make sure the seams line up) and pin.
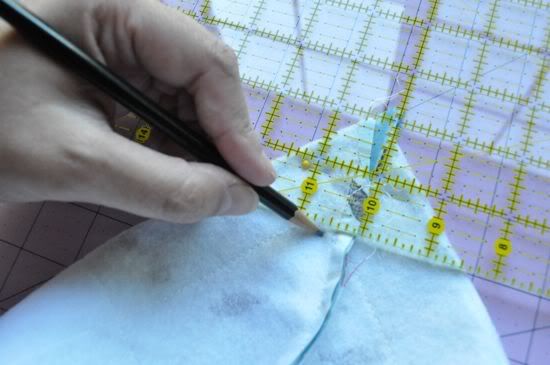
Draw a line 2" down from the corner as shown. Sew on line. Back stitch when you start and stop to lock the seam into place.
Sew both corners as you can see here.
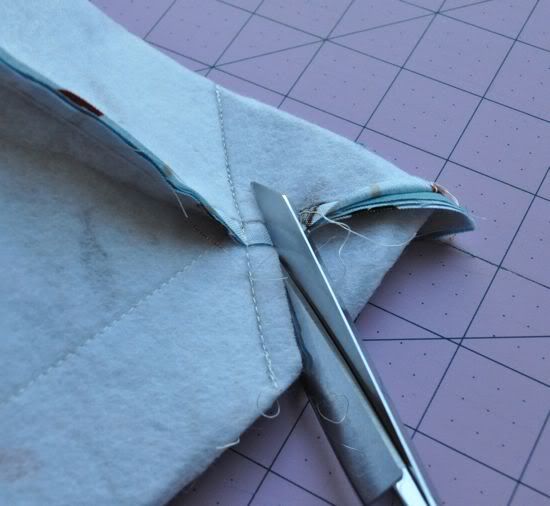
Cut off corners 1/4" from seam.
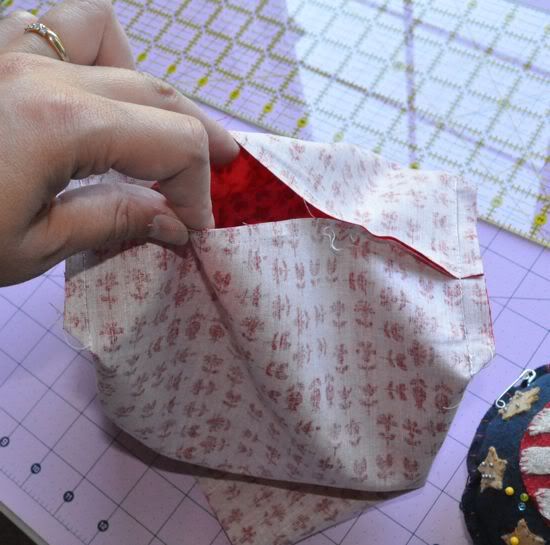
Make bag lining, take the two pieces of the inside of bag lining and lay them right sides together, pin along sides and bottom. Sew down one side, turn and go about 4" on the bottom. Cut your thread and leave a 4" opening, start your thread again and sew along the bottom and back up the other side, see picture above for the opening.
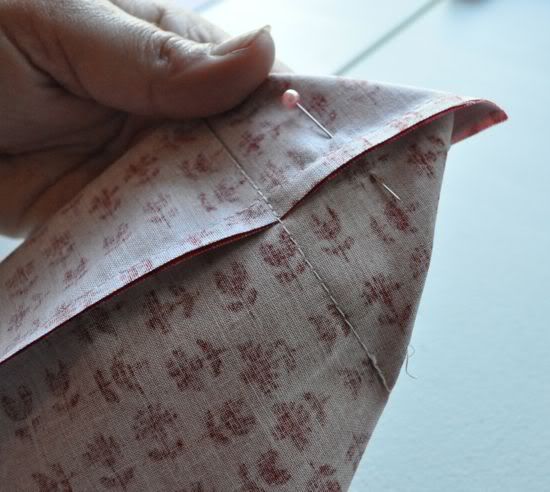
We are going to make the inside of the bag like we did the outside, so squish the corners, measure 2" from the tip and cut sew along the line, cut the corners away.
Your bag lining will look like this.
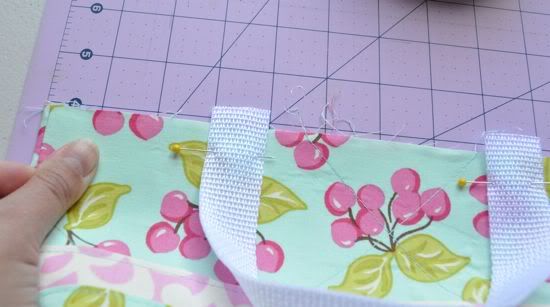
Next we are going to add the handles. Pin your handles 3" from each end of the bag (as shown) I like to have my handle ends stick up above the fabric about 1/4" that helps it from fraying or falling off. Make sure handles are not twisted. I will then take it to my sewing machine and baste the handles down.
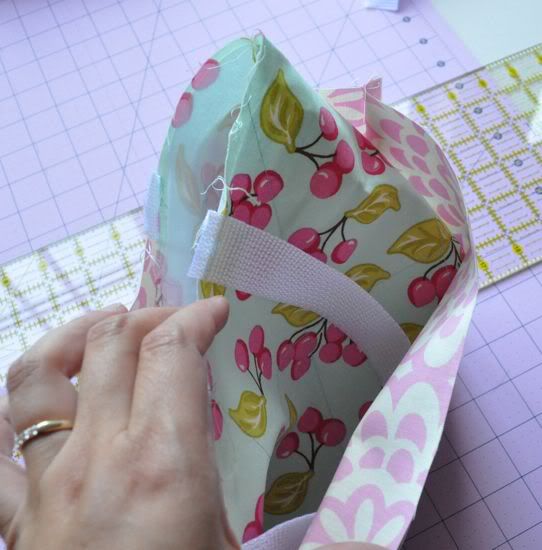
Next you flip your outside bag body so it is right side out (you are getting close!) Slip the inside bag body over it and pin in place (see how the right sides are facing together?). I like starting on the end seams, making sure they are lined up and pin it into place. Make sure the handles fall in between the two. Sew a 1/2" seam all of the way around.
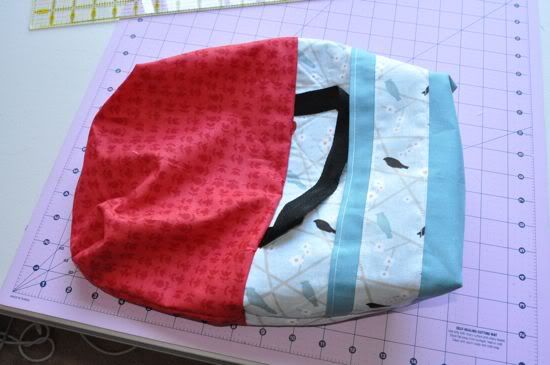
Flip lining over and sew the opening closed in the lining. Arrange the lining inside the bag and iron around the edges so it lays flat. Sew a seam along the top of the bag close to the edge, and back stitch at the handles, ensuring those handles won't fall off. And you are done! Enjoy your cute bag.

Friday, September 02, 2011

Bags and more bags

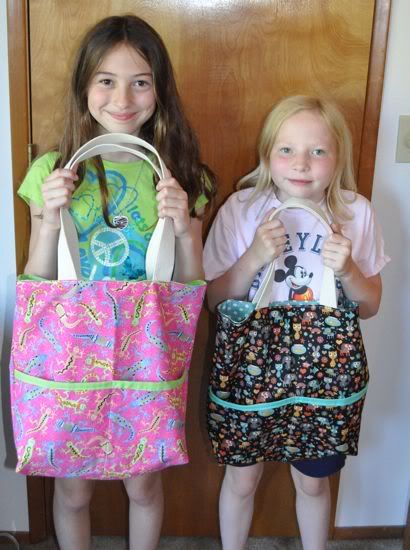
We have been making more bags. This summer wasn’t really designated to quilting, but to bags! After I made the Summer tote from the Noodlehead tutorial, my daughter wanted to make one. I then decided to have her friend Grace make one with us as well.

The girls did all of the cutting and most of the sewing, I helped with the finishing of it, but I was proud of them for working so hard! I think it made them realize how much work sewing really is, it took us a couple of days to make the bag and that helped to break up the time.

Jessie’s bag uses fabric from the Max & Whiskers line by Moda. She picked that fabric out on her own, and Grace used fabric she had already, I love the lizards! So, here are two happy and proud girls.
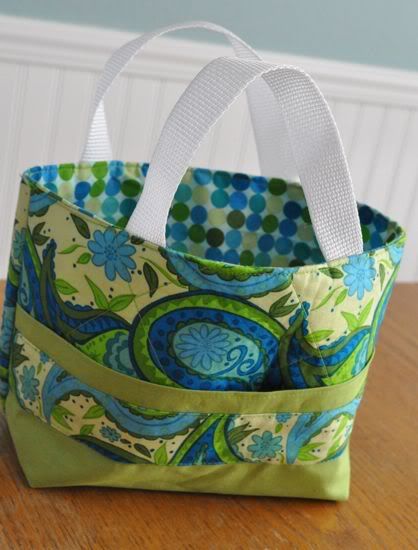
In other news, I made another scripture tote. I love how this one turned out. I plan on doing a tutorial for these bags sometime soon.
Labor day weekend is here! Can you believe it? There is a lot going on. My kids start school on Tuesday, we are having mixed emotions of excitement and anxiety. Also my husband and I have been married for 12 years this weekend, so we are going on an excursion to the Columbia River Gorge. We are excited to celebrate, 12 years isn’t too shabby is it? :) I wish you all a happy and fun weekend!!