

I've had some people ask me to put together a tutorial on the scripture totes I've been making, so here you go! The bag holds a set of scriptures in it perfectly. I started making the bags for presents for the girls at church, and they loved them. They are really cute little bags.

Materials Needed:
Outside of Bag Body: 2 pieces 9-1/4" x 12-1/2"
Inside of Bag Body: 2 pieces 9-1/4" x 12-1/2"
Fusible Batting: 2 pieces 8-3/4" x 12"
Pocket: 1 piece 12-1/2" x 12-1/2"
Pocket Decorating Stripe: 1 piece 2-1/2" x 12-1/2"
Nylon Webbing for Handles: 2 pieces 12" Long
Iron fusible batting to the wrong side of your two pieces of the Outside Bag Body.
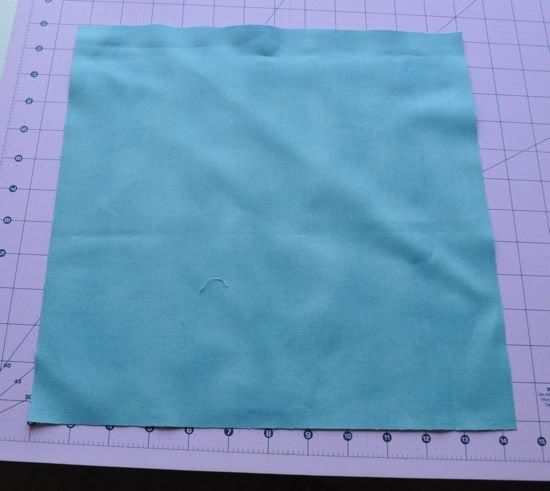
Take your pocket fabric 12-1/2" x 12-1/2"

And iron it in half.

Take your pocket decorating strip, and iron each long end 1/4" down on the backside so you won't have it fraying.

Measure about 1" down from top of pocket (where the fold is) and pin strip in place.
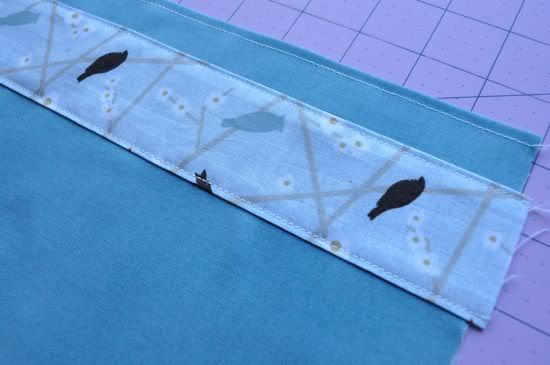
Sew close to edge on the top of pocket fabric, and close to the edges of the strip, use matching thread.
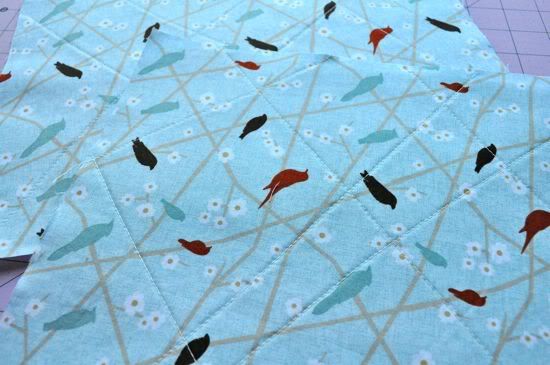
{optional} quilt the outside bag body pieces, I just did it randomly, I think it looks nice and adds more dimension to the bag.
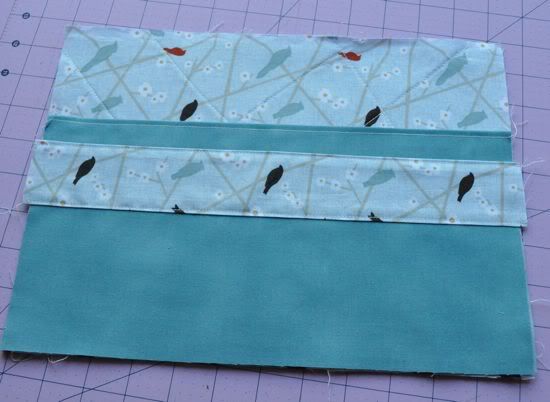
Lay pocket on top of one of the outside bag body pieces (laying right side up).

Lay second outside bag body piece on top of them and make sure right sides are together.

Pin along the sides and bottom, leave the top open. Sew with a 1/4" seam along the three edges, remove pins.
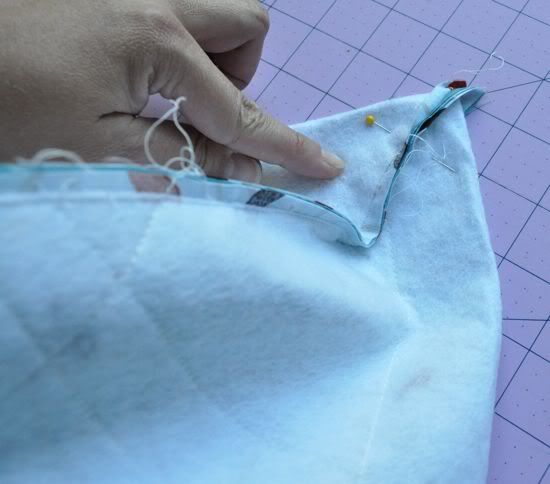
Next we are going to make the bag so it will sit flat on the bottom. You squish down the corner (check the inside of the bag and make sure the seams line up) and pin.
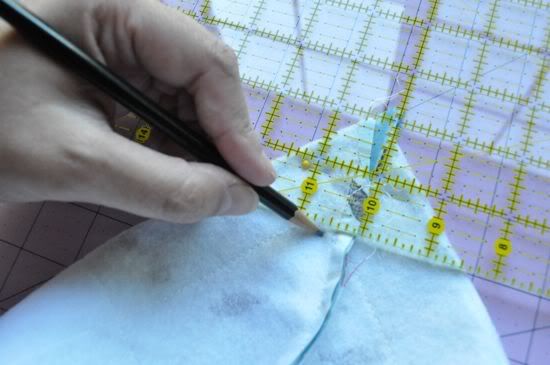
Draw a line 2" down from the corner as shown. Sew on line. Back stitch when you start and stop to lock the seam into place.
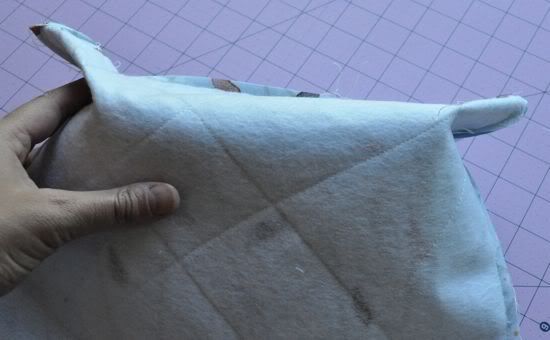
Sew both corners as you can see here.

Cut off corners 1/4" from seam.

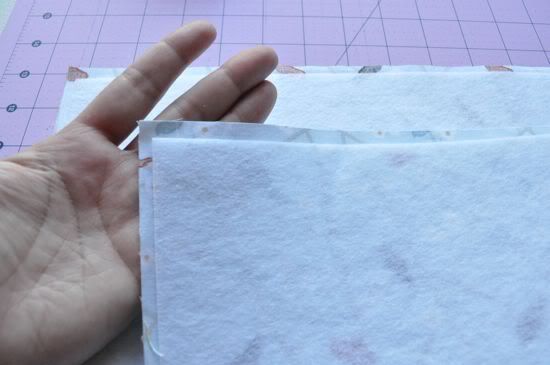
Make bag lining, take the two pieces of the inside of bag lining and lay them right sides together, pin along sides and bottom. Sew down one side, turn and go about 4" on the bottom. Cut your thread and leave a 4" opening, start your thread again and sew along the bottom and back up the other side, see picture above for the opening.

We are going to make the inside of the bag like we did the outside, so squish the corners, measure 2" from the tip and cut sew along the line, cut the corners away.
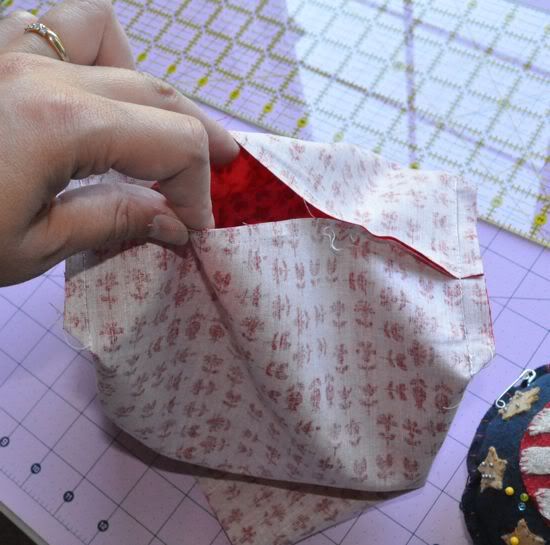
Your bag lining will look like this.

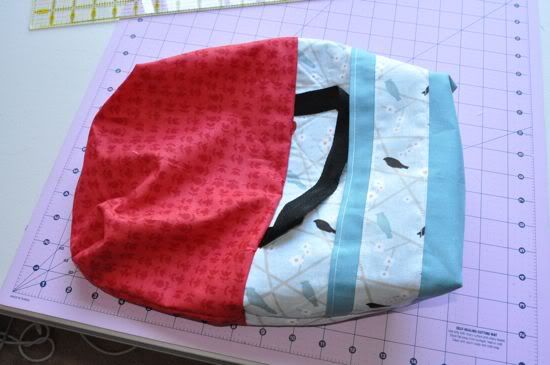
Next we are going to add the handles. Pin your handles 3" from each end of the bag (as shown) I like to have my handle ends stick up above the fabric about 1/4" that helps it from fraying or falling off. Make sure handles are not twisted. I will then take it to my sewing machine and baste the handles down.

Next you flip your outside bag body so it is right side out (you are getting close!) Slip the inside bag body over it and pin in place (see how the right sides are facing together?). I like starting on the end seams, making sure they are lined up and pin it into place. Make sure the handles fall in between the two. Sew a 1/2" seam all of the way around.
 Flip lining over and sew the opening closed in the lining. Arrange the lining inside the bag and iron around the edges so it lays flat. Sew a seam along the top of the bag close to the edge, and back stitch at the handles, ensuring those handles won't fall off. And you are done! Enjoy your cute bag.
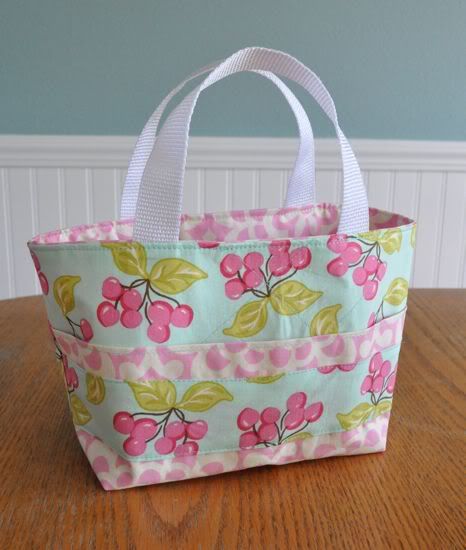
14 comments:
Awesome, Heather! I've been wanting to make one of these.
I love this! I have always wanted to make one like this. It would be so fantastic for...well everything :) I have to get busy! I found you from Craft Gossip.
Why is it called a scripture tote?
Vicki- because I initially made the bag to hold a set of scripture books in it. It is made to the size of my books. For taking them to church.
Great tut, well explained! Nice pics. TFS~
Thank you so much for the tutorial. These are so cute--and functional too. Can't wait to make some...22 to be exact!
I'm getting ready to make this for my daughter's baptism gift. This is such a great tutorial! But I do have one question. Is fusible batting the same as fusible webbing? Thank you!
Thank you for sharing the pattern for such lovely totes! Happy Holidays!
So would this fit a standard quad set?
I used your measurements to make mine and it turned out great. Check it out here:
http://craftingintherain.blogspot.com/2012/02/make-splash-bows.html
Thanks!
I just made one of these today. Very cute. Thanks for posting this!
Great directions! Question, can you put a quad in these?
Thanks!
Sarah
Sadly I can't see your pictures. I found your blog via a link from another blog with instructions on scripture totes
Sadly I can't see your pictures. I found your blog via a link from another blog with instructions on scripture totes
Post a Comment