
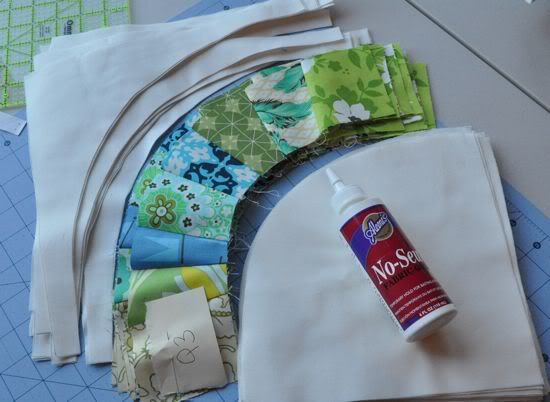
There are several glues you can use for sewing curves. The one I was able to find at my local Joanns store is called Aleene's No Sew Glue. At the demonstration shown to me at my quilt guild meeting, she used Roxanne Glue-Baste-It. I think I'd prefer to use the Roxanne glue because it comes out of a tiny tube, making it more accurate to place. Just make sure the glue is WATER SOLUBLE. You want it to wash out when your top is complete.
The quilt I've been sewing curves on is the popular Single Girl Quilt. There are obviously lots of curves on this puppy!! Okay, first off you need to have all of your pieces cut out and ironed, ready to go.
Next you take your two pieces you want to sew together, fold and crease on the center of each piece, on the side they will be joining.

You then add tiny dots of glue every 3 inches or so, TINY dots, not big globs!! Down one end of your fabric. Not the whole piece.

Now place your fabrics on top of each other, in the center first. Line up your creases and press on the dot of glue for a few seconds until they adhere together.
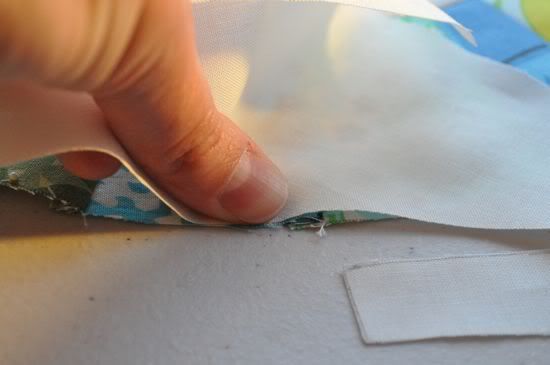
As you go to each dot of glue make sure the fabrics on top and bottom line up together. It will look gathered, but that is what is supposed to happen.
Now you put tiny dots of glue down the other end, and press together.
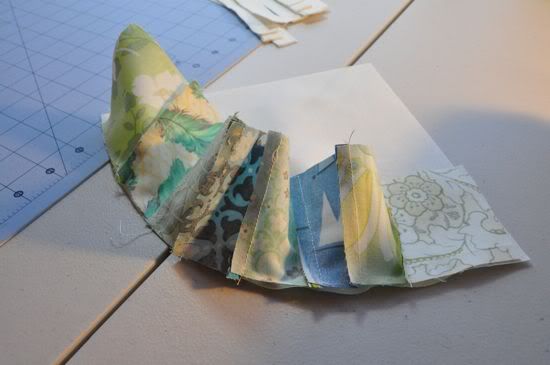
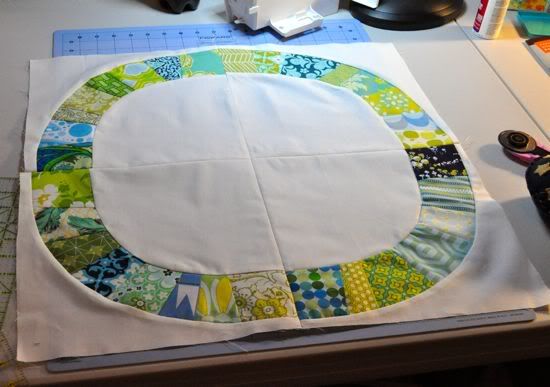
It will then look like this. Now sew around the ring, take your time and get your curve right. After it is sewn, open it up and iron towards the white fabric.

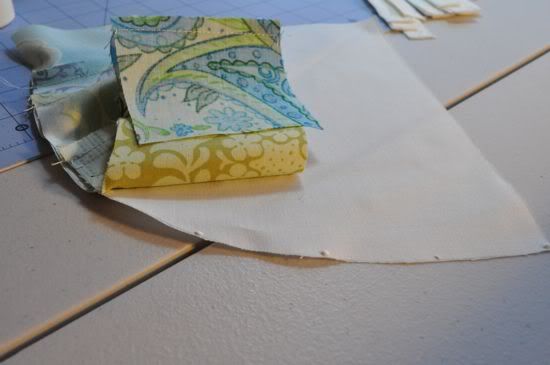
Now you want to sew on the top corner piece, so again, fold both pieces in half and make a crease with your finger in the center of each piece. Put tiny dots of glue in the center and down one side. Line up the creases, and press in the center dot of glue first, working your way down the side. Then make tiny dots of glue going down the other side and press each one until you are done.
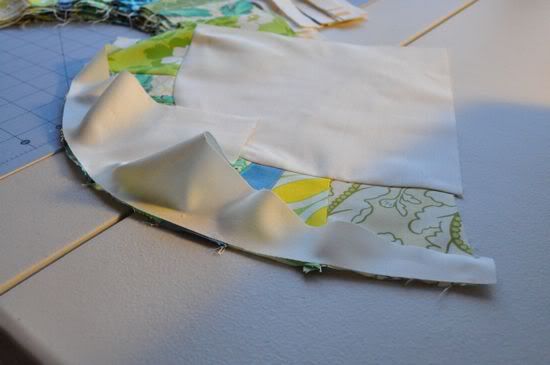
It will look like this. Now sew together, again, take your time sewing your curve. After it is sewn, open it up and iron towards the white. Trim your blocks as needed.
Sew your rings together and enjoy!!
Please email me, or leave a comment if you have questions, or need clarification. I had to practice on a few to make sure I had it down, I would recommend you do the same! Happy sewing!
11 comments:
very cool technique! thanks for sharing it! (btw...i printed the template for my last step on the quilt last night...only to discover that I don't have anymore iron-on stabilizer!!! ahhhhh!)
What a great idea! And your Single Girl looks totally awesome!
This is going to be a gorgeous quiilt!!
I have always stayed from curves because I didn't want to do all that pinning. I will definitely have to try the glue and see how that goes.
What a cool technique! I'm not a big fan of pinning curves so I'll have to try this on my next curve project.
Wow.. I wonder if that would work for apple cores?
Thanks so much for the tutorial. I am about to tackle Single Girl and will definitely give this a try
VERY NICE THANK YOU SO MUCH ¨¨
Elmers School Glue is water soluble and much cheaper than buying glue special for fabrics. I use it all the time!!
You can be proud of yourself. That is gorgeous.
This is an incredibly helpful guide for sewing curves.
Post a Comment